After a long hiatus from blogging, I am back. And more importantly, restorative yoga is back in full swing. So welcome to your “Go To” resource for restorative poses, breath, relaxation techniques and hopefully inspiration to continue on your path to wellness and conscious living.
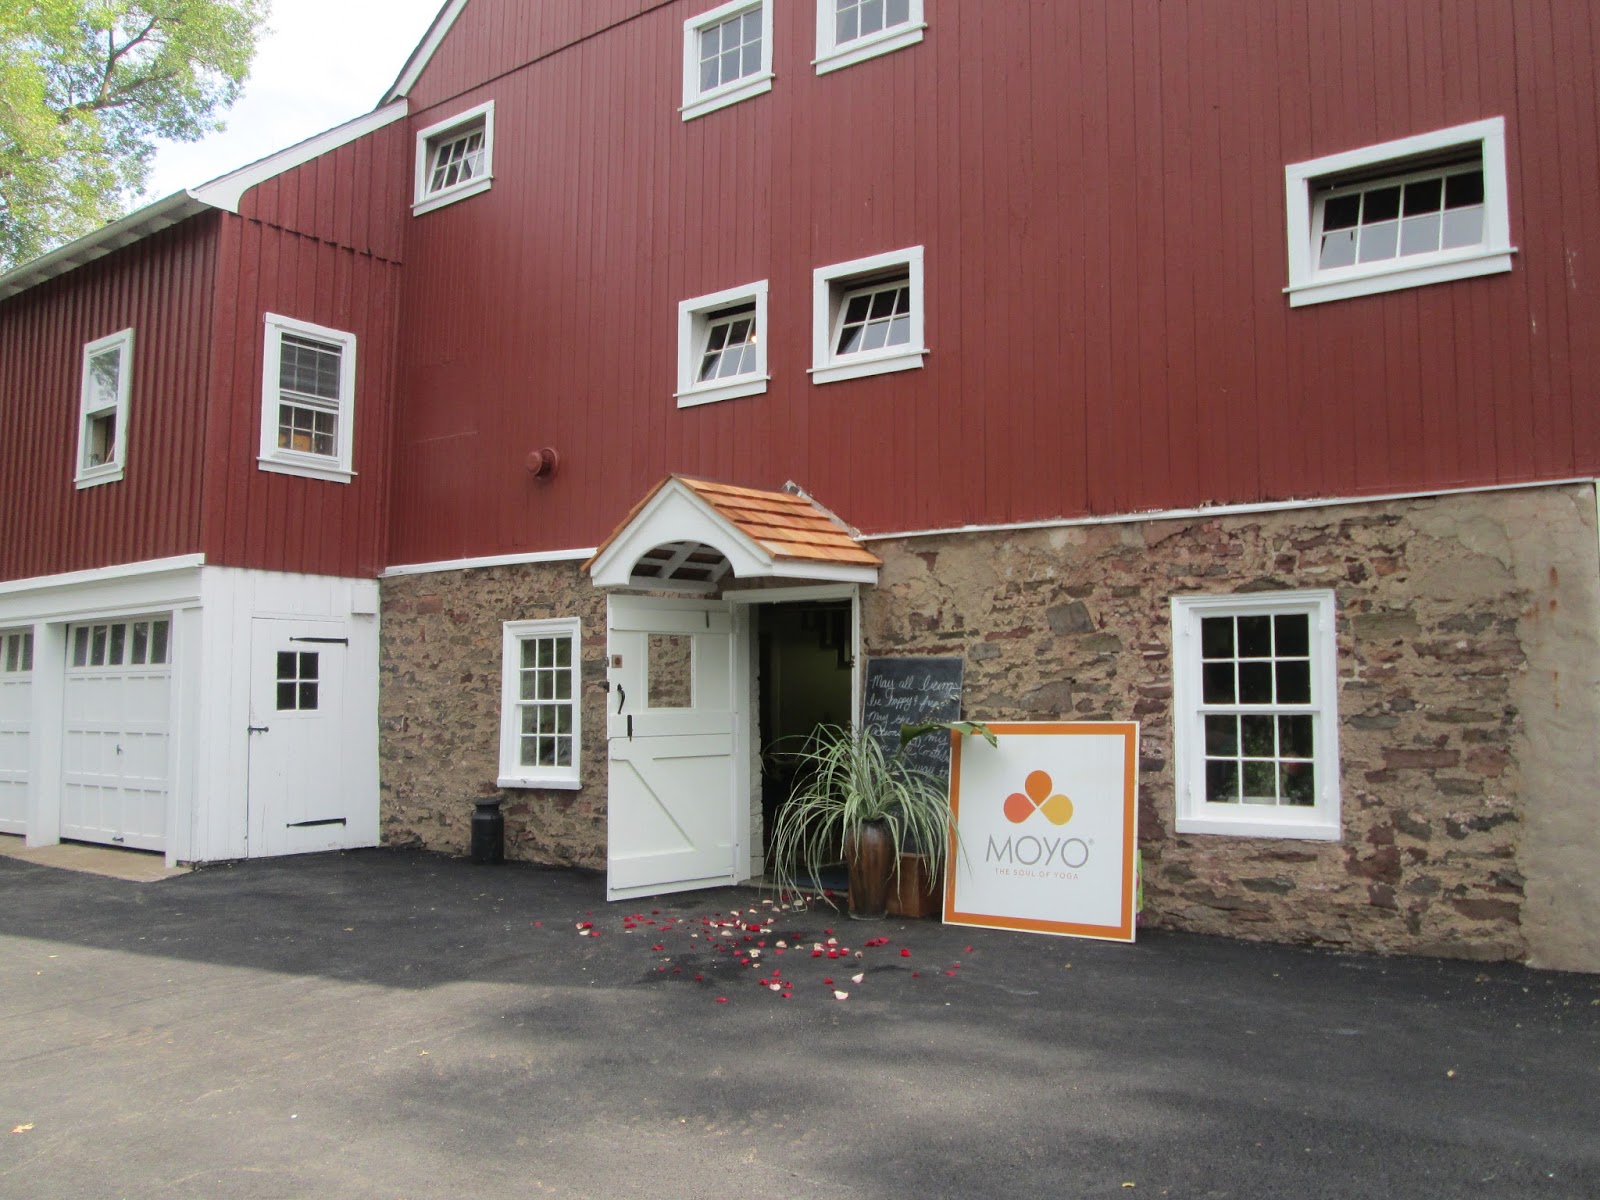
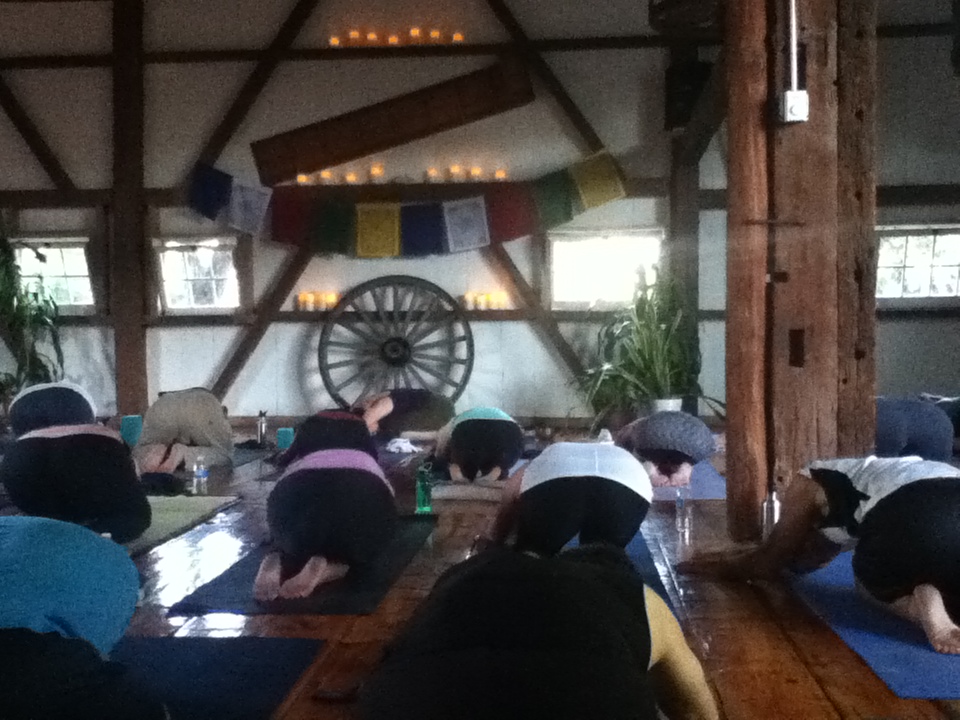
We began this month’s series in our new space at the Lochwood Barn. If you haven’t been to our new yoga studio in the old barn, please try to stop by to see and feel the good vibes coming from the rafters, the floors and hours and hours of love that was poured into it. For those who live a wee too far away, here are some photos to tantalize your taste buds.
I have so many things to share with you as we journey together through this practice but first things first. Take the time to try one of these poses at home, spend a few minutes each day to practice regulating the breath, and stretching your bodies and minds. Give this practice some time, as you may not entirely feel a workout but with time it may be a “work in”.


The Breath
Equal Breath
Find a comfortable seated position or laying down. Focus in on your breath, becoming aware of its pattern before beginning this breath. Make a conscious effort to inhale and exhale for the same count (2 to 3). Find a calm, steady awareness of the breath, the feel, the temperature, the way it enters and exits the body. Practice this breath anywhere. Continue this for 2 to 3 minutes. A way to self-regulate the breath and find consistency in its rhythm.
The Poses
Supported Childs Pose or Variation
 Props: bolster, two blocks, 2-3 blankets
Benefits: Gently stretches the lower back, relieves shoulder tension and quiets the mind. Give a sense of security. Feeling support and release.
Extras:sandbag for sacrum
Place the two blocks at either the lowest or medium height, equidistant from each other bolster lengthwise on top of blocks. A s-fold or triple fold blanket on top of bolster. It may be more comfortable without blocks. Legs straddle the props at one end, and lengthen body over them. Head will rest on props. Additional blanket(s) may be used behind knees. Ideally props should extend all the way to the pelvis area but this may not be the case with your body structure. Stay here for 10 minutes to begin with, rotating head side to side.
Variation: Use chair or bench with support behind the back and blanket to sit on. Extend legs either in straddle or through the legs of the chair. Forward fold toward the chair or bench and let arms drape over back of chair or rest on legs. Use additional props/support where necessary. Keep tadasana alignment.
Sublime Side Lean (Minimal Prop)
Benefits: Stretches the torso and provides a gentle twist which allows a release in tension in the lower back area. Emphasis on three-part breath. Elongates side body.
Create a bolster fold from one blanket. Fold a blanket into smaller rectangle from a a full half fold. Lay flat on floor and fold in thirds, the final third folding under (s-fold) then fold 1/3 in and other third in with fringe on top third. Lie on right side with hip at the base of the blanket. Torso should rest on the blanket. Right arm rest on the floor with the palm up. The left arm can reach over the head to increase the stretch. Close your eyes and allow your body to relax and release any stress or tension. Slowly sit up and switch sides for the same amount of time.
Focus on your breath. Breath into your right side allowing that gentle stretch to travel from the tip of your fingers down your lower spine. Sense the left side of your body gently melting and surrendering to the ground beneath you. All tension and stress being recycled by mother earth. Sense the gentle letting go of your muscles and knowing that you are safe and supported. Breath deep and exhale soft and long.
Reclined Bound Angle (Supta Baddhakonasana)
Benefits: opens the hips and groin facilitating blood and energy flow to the urinary tract and reproductive organs. Opens the chest and abdomen benefiting breathing problems.
Props: bolster, 4 blocks (or firm cushions, pillows or rolled-up blankets), 4 blankets and one extra blanket for warmth, strap and eye pillow
Place a block lengthwise under one end of a bolster to prop it up on an incline, add another block under bolster for stability. We used the wall in this week’s class placing the bolster at a higher elevation. Place a double-fold blanket on floor next to low end of bolster and a long rolled blanket on top next to bolster (for sacral support). Sit with your back to the short, low end of the bolster. Place two blocks where your knees will rest (can top with a soft blanket or use other props as necessary for propping knees) Bring your legs into Bound Angle Pose with the soles of your feet together. Wrap a blanket around your feet to create a feeling of containment. Lie back on the bolster. Place supports under your arms so that they are not dangling and there is no feeling of stretch in the chest. Stay in the pose for 10 to 15 minutes.

 Props: bolster, two blocks, 2-3 blankets

Leave A Comment