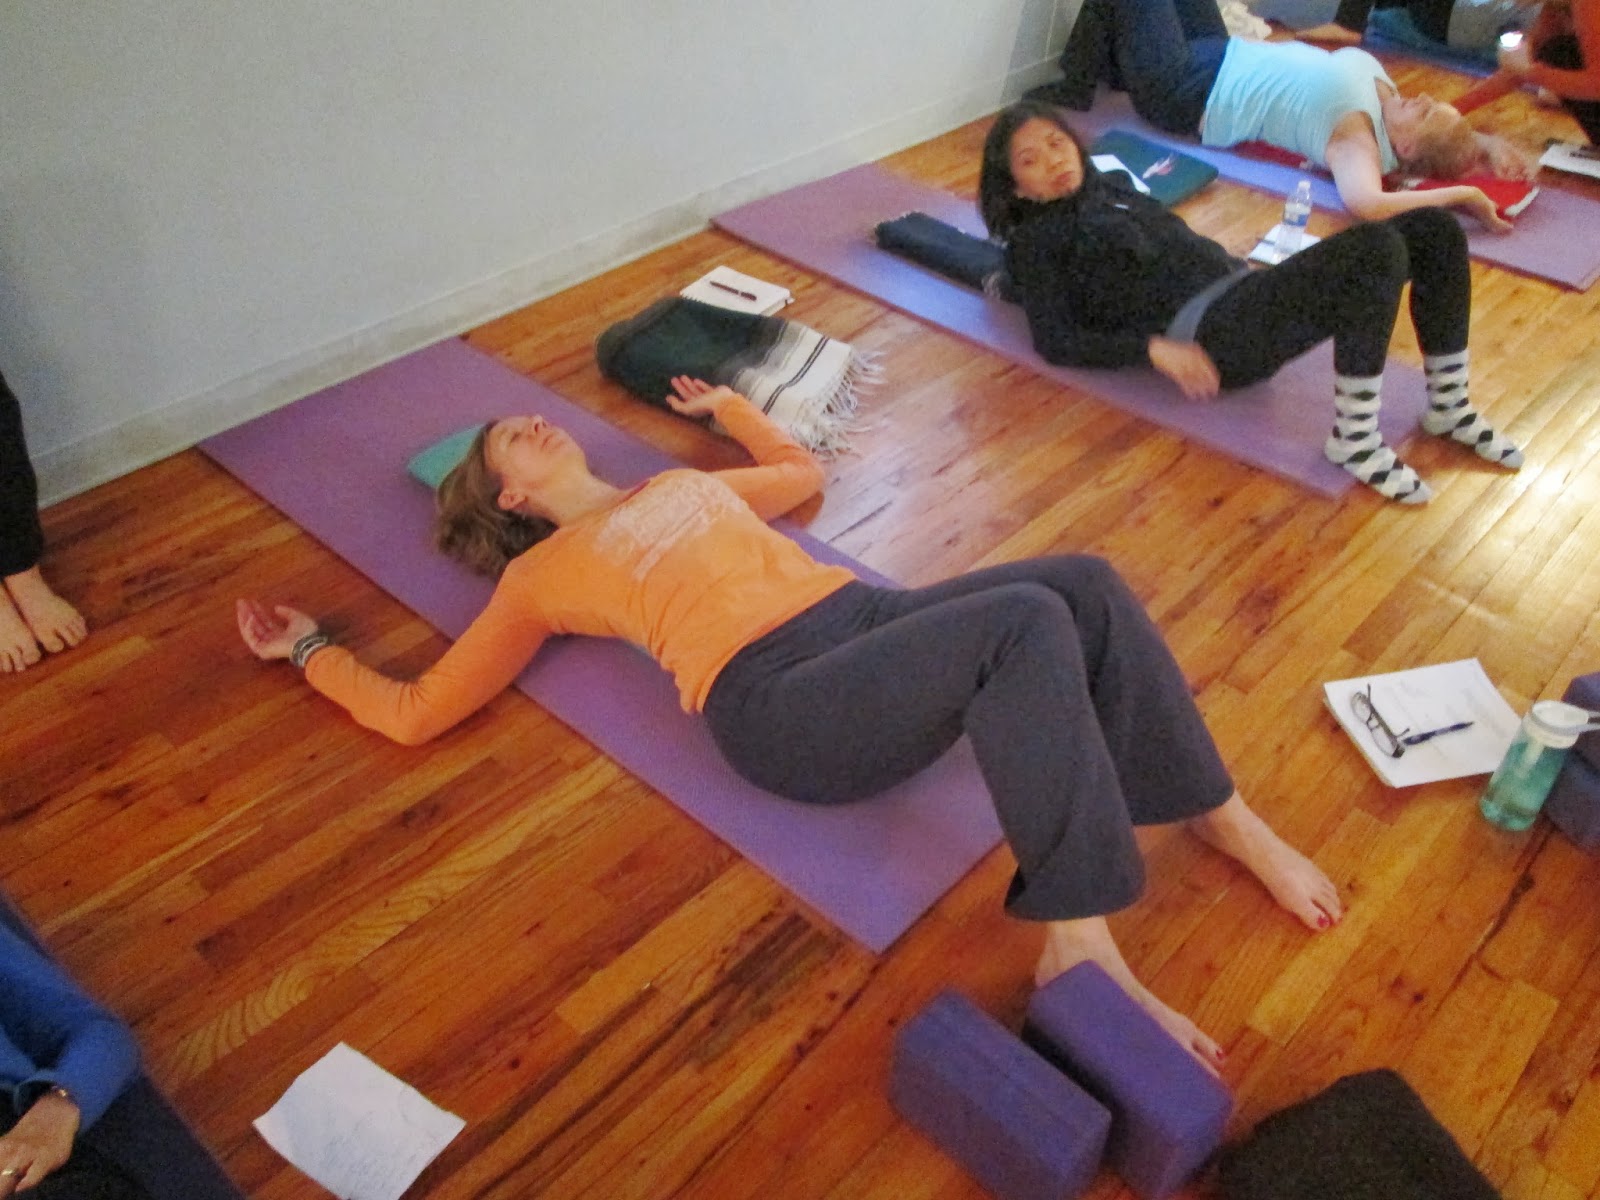
So yesterday, I had the wonderful opportunity to take a yoga class at the Perelman Center at Penn. This class was taught by a very knowledgeable and loving instructor, Tali. She mindfully guided her students in the simplest of poses with attention to using all of their muscles, breath, core and alignment. And I was knocked off my feet. Tadasana (Mountain Pose) can be very intense when you really utilize what you have within you. I felt her hand at the back of my thigh, reminding me to press into her fingers. My muscles were screaming, my breath shortened. Her guidance brought me back and I pressed, I breathed.
This was not a Power Yoga class. This was Yoga for Cancer at the Abramson Cancer Center. We worked every muscle in our bodies in that class. Savasana never felt so good or so deserved. There was definite struggle in my practice that day and I could see it in the reactions of the other students in the class. But over and over again, Tali brought us back to our strength, our muscular strength and our inner strength, to keep going – keep living.
I am 5 years out since my diagnosis but walking around the Center after the class, there were many, many patients there in all sorts of stages of their disease. Yes, I saw people in wheelchairs, walkers, canes, bald heads, and bandages, but you know what else I saw – strength, resiliency, courage. That popped out at me more than anything. Sometimes, we forget that we have this in ourselves and it just takes a firm hand at our thigh to remind us.
The Breath (note that if you feel dizzy or nauseous, please rest and return to your natural breath)
Equal Breath
Three Part Breath
The “three parts” are the abdomen, diaphragm, and chest. During Three-Part Breath, you first completely fill your lungs with air, as though you are breathing into your belly, ribcage, and upper chest. Then you exhale completely, reversing the flow. Bringing your hands to your belly with a round of abdominal breathing may be the first stage of the breath, followed by hands to the outside of the ribs and then finally hands to the heart center, feeling the breath move in and out of these three parts. Practice this breath for a few minutes prior to your yoga or meditation practice. The benefits to this deeper breath is that there is more flow of blood to the body, the lungs expand for better circulation, creates calm and centering and readies you for your yoga practice and/or meditation.
Breath Retention on Inhalation and Exhalation
Sitting comfortably, breathe in for a count of 4, hold for 4 and breath out for 8. This can be practiced on the exhalation also. Breathe in for 8, exhale for 4, no breath at all for 4. The counts can change according to your ability. Maybe begin with even count in, same count for retention and then same for exhale. Try different variations on the breath retention, noticing the effects in your body, your mind, your energy as you practice. Come back to your natural breath.
The Poses
Passive Back Arch
Lumbar Opener & Thoracic Opener
Props: 2 blankets folded lengthwise
Benefits: gently stretch and open the segments of the spine, chest wall, shoulders relax, breathing expanded.
Same set up as Passive Back Arch but now you slide your hips off the blanket so that the edge of the blanket is at your sacrum. Knees bend. Arms can rest in different positions based on your intention or comfort. Head still rests on the blanket. For Thoracic Opener, slide the cross blanket down until it rests right below the shoulder blades (around the top of the bra line). Arms move into position that you want. Breath again the Three-Part Breath to facilitate the circulatory flow to the spine and the entire body.
Legs up the Wall with bolster support

Leave A Comment