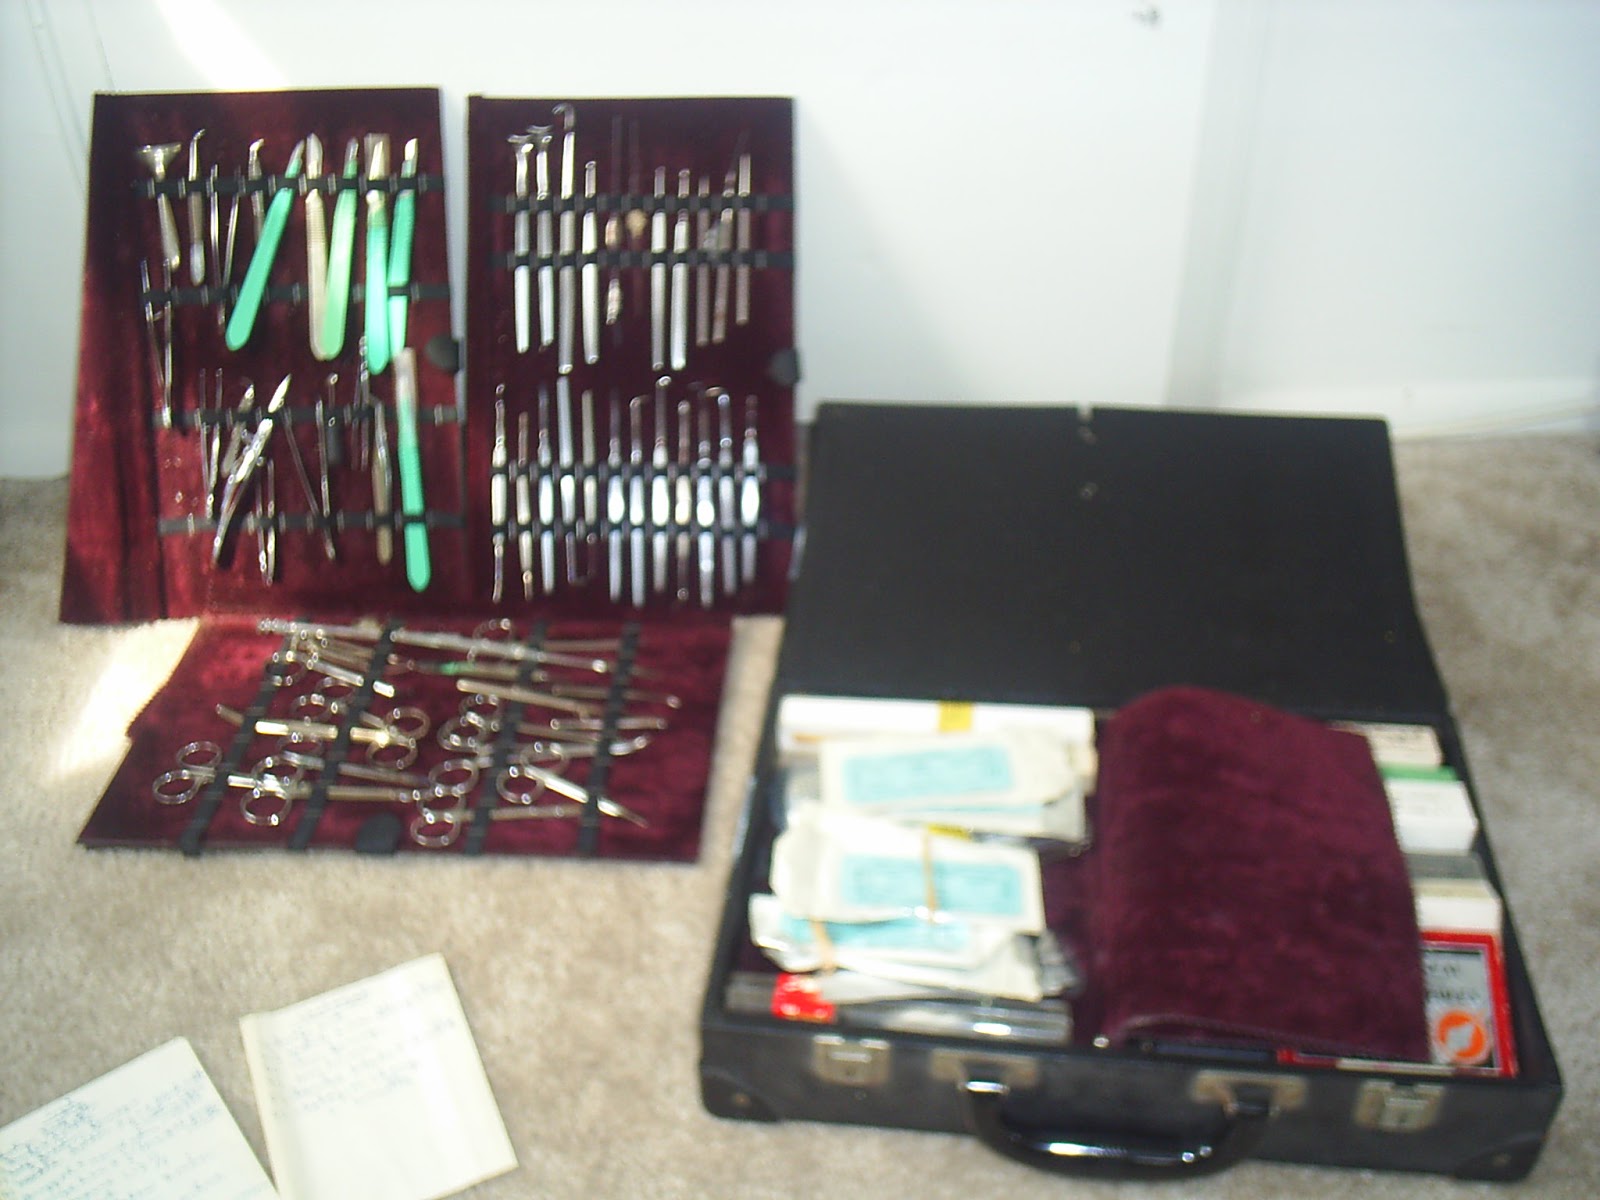
Restorative Yoga can certainly be a yummy practice leaving you feeling warm, loved and safe. But there may be times as life unfolds in our bodies, our thoughts, and in our deeper recesses of our being, that emotions and past scars rise to the top which makes the practice downright difficult. Not so delicious. That is when the real work begins. Before we lay our foundation, we have to uncover what is in the ground. But with any work, we need tools to accomplish the job. So what is in your yogic toolbox? What do we all have to work with?
Breathing – we all do this but different techniques and awareness can support our many layers of our being, our moods, our physical sensations, our thoughts. This blog and many other sources on-line and otherwise can provide information on different breathing techniques. Begin with breath awareness, paying attention to the air moving in and out. That in itself may support your presence in the present, good or bad.
Take Inventory – awareness again and body scans. There are multiple ways to do this. Start from the ground up (the toes to the crown of the head) noticing how each body part feels. Or observe which part of your body is heaviest on the floor or chair, which is lightest, or what part of your body is talking loudest and quietest.
Relaxation Techniques – from physically contracting muscles to mentally thinking of each part of the body and relaxing. To name a few techniques, we have:
- Imagery – active or passive
- Breath
- Visualization
- Reiki
- Massage
- Guided Meditation
- Sound Vibrations
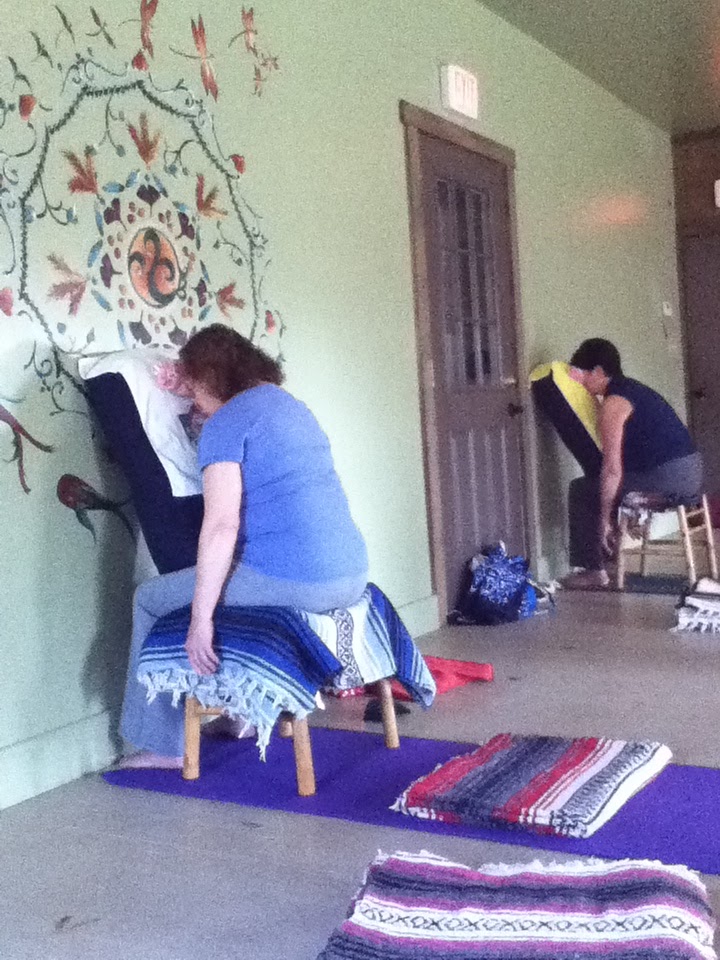
- Use of Props like bolsters, blankets, sandbags, connection to the earth
- Senses
The Breath
Straw Breath
Benefits: increase range of motion of diaphragm, aid in continuous and smooth movement of the breath, support complete exhalation and removal of toxins in the body, calming practice.
Props: narrow opening straw or just pursing your lips.
Begin in a comfortable position, either seated, lying down or even standing supported. Inhale through the nose in a natural relaxed way, exhale evenly and naturally hrough the straw or pursed lips. The head position is neutral with the straw facing forward not down. A variation is to take the straw out for the very last bits of air releasing and exhale through the nose but it takes some practice to do this evenly. Try 4-5 rounds at the beginning, returning to your natural breath between rounds.
The Poses
Bridge Pose
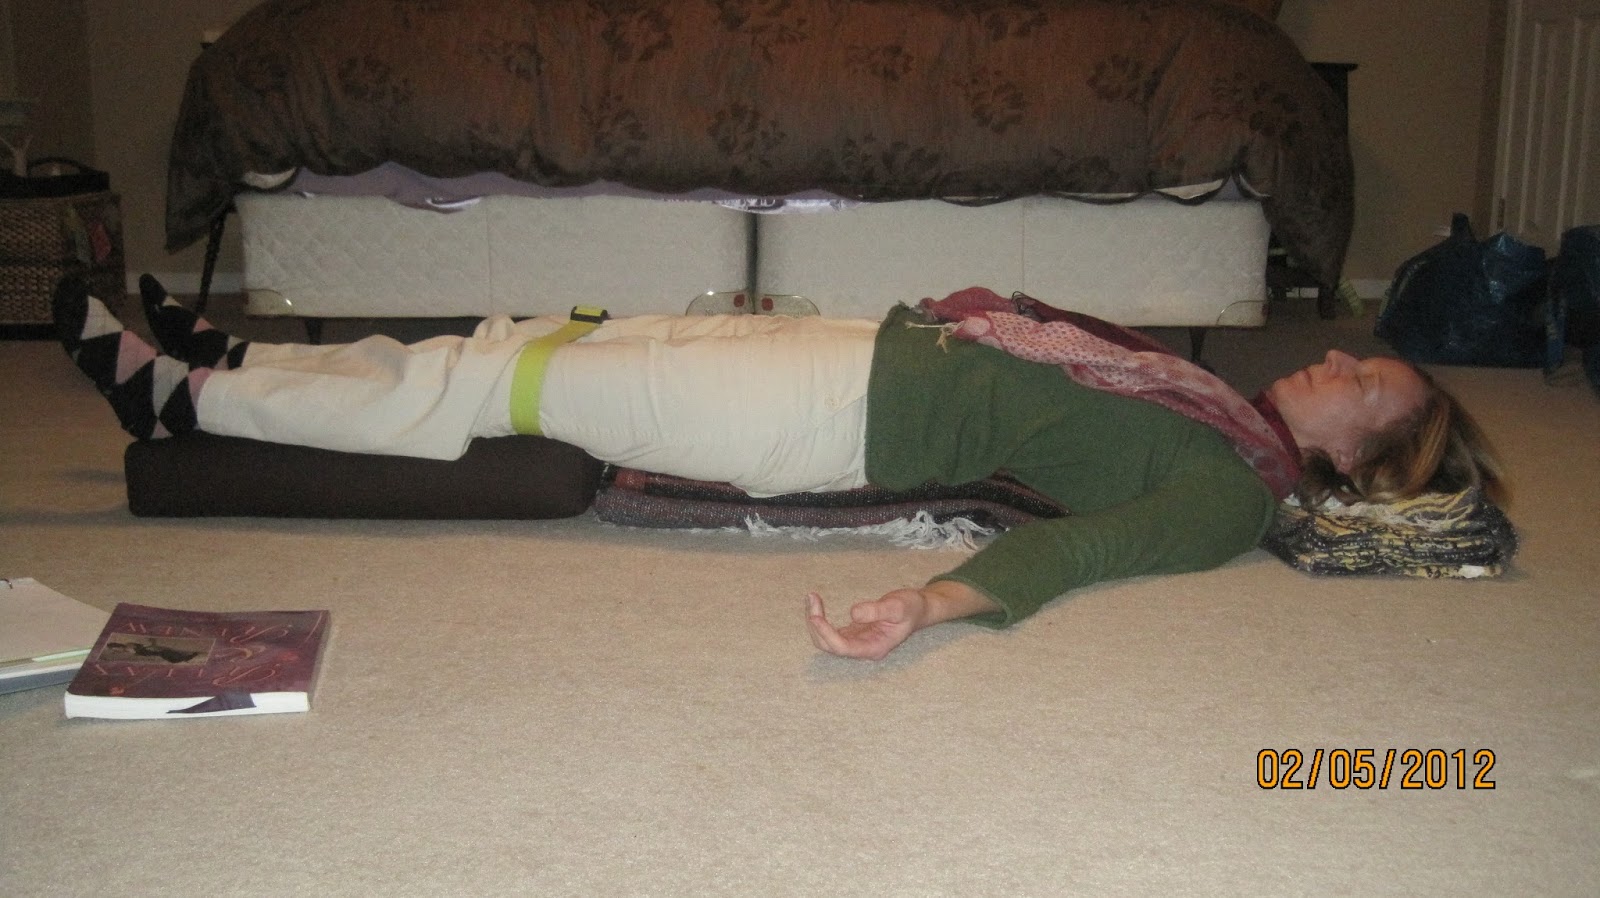
Props: 4 blankets, neck roll, eye pillow, can also use bolster for more stretch
Lie on your back with knees bent and feet flat on the floor. Lift butt and slide the stack of 2 or 4 blankets under the base of your spine. Find a comfortable position, then let the upper back release on the floor. Arms are relaxed at sides or resting on belly. Feel chest and belly rise with each breath. Roll gently to one side when done and inhale up to seated.
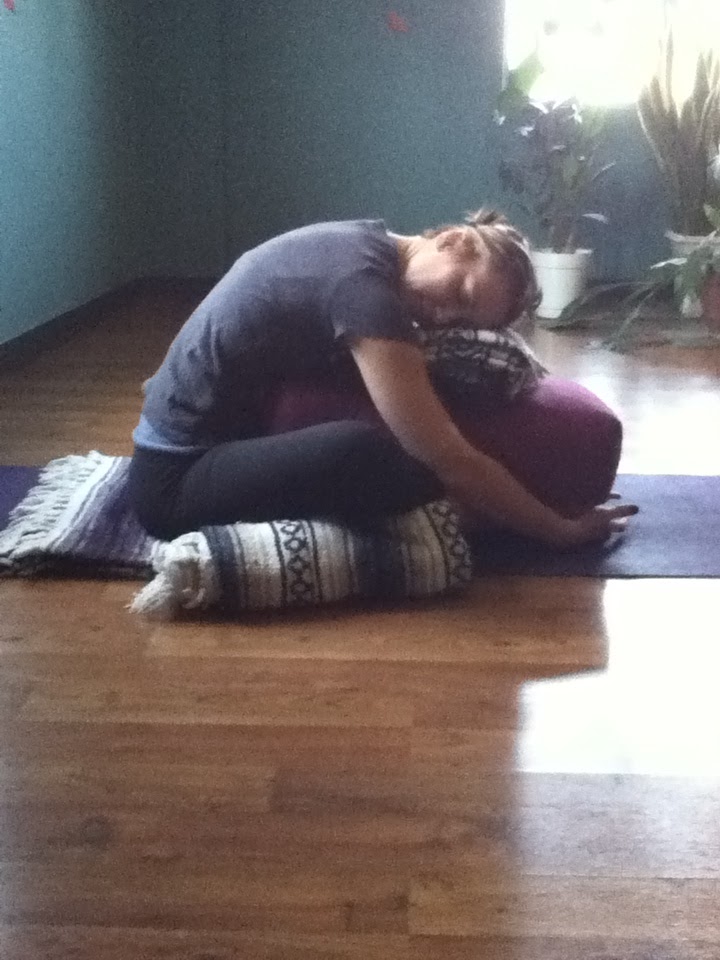
Childs Pose Variation
Nesting Pose
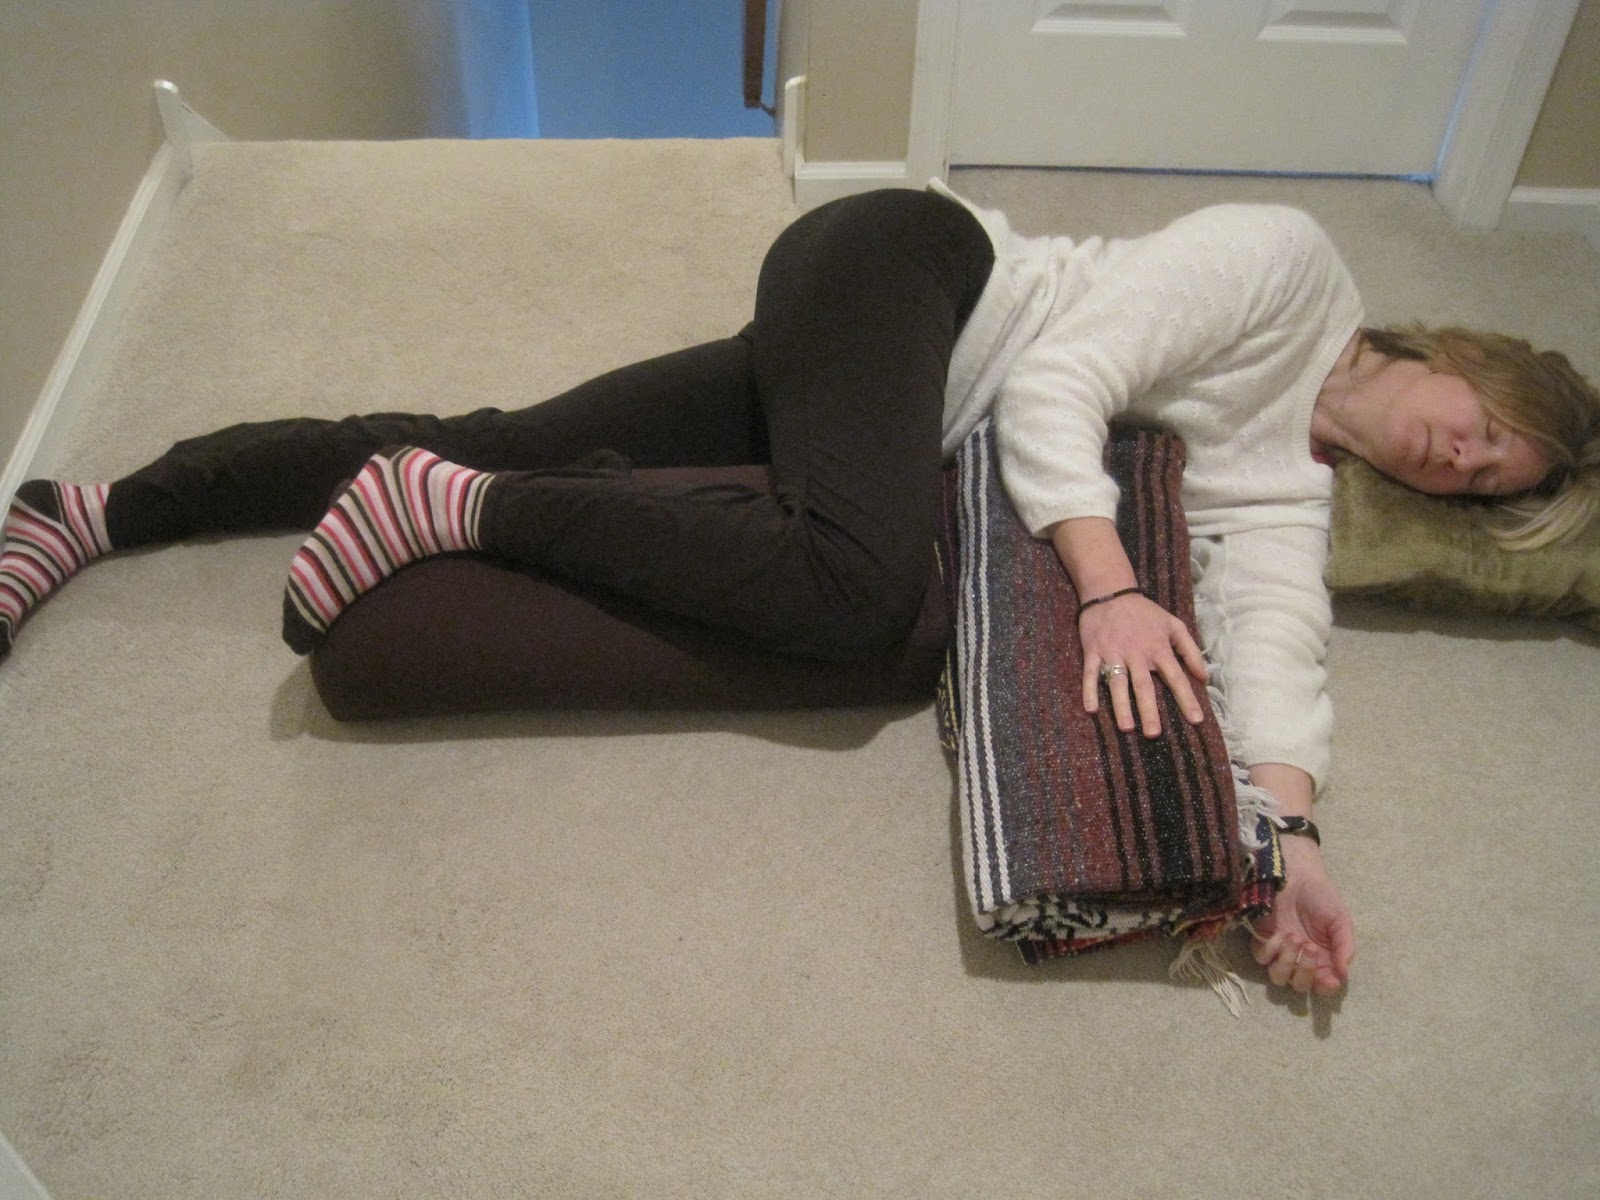 |
| Version with one straight leg |
Props: blankets, bolster
Choose a side of the body that you are comfortable lying on. Create a big enough folded blanket(s) or bolster to place between the knees to align the legs in Tadasana. Add a folded blanket to rest your top arm on. Rest your head on a blanket. A neck roll can go under the ankles for support. Bolster can rest along spine for further support and grounding. Finally, cover yourself with a blanket from head to toes. Sink down with each long exhalation. Mantra to accompany pose “I am safe, I am supported”.
Leave A Comment