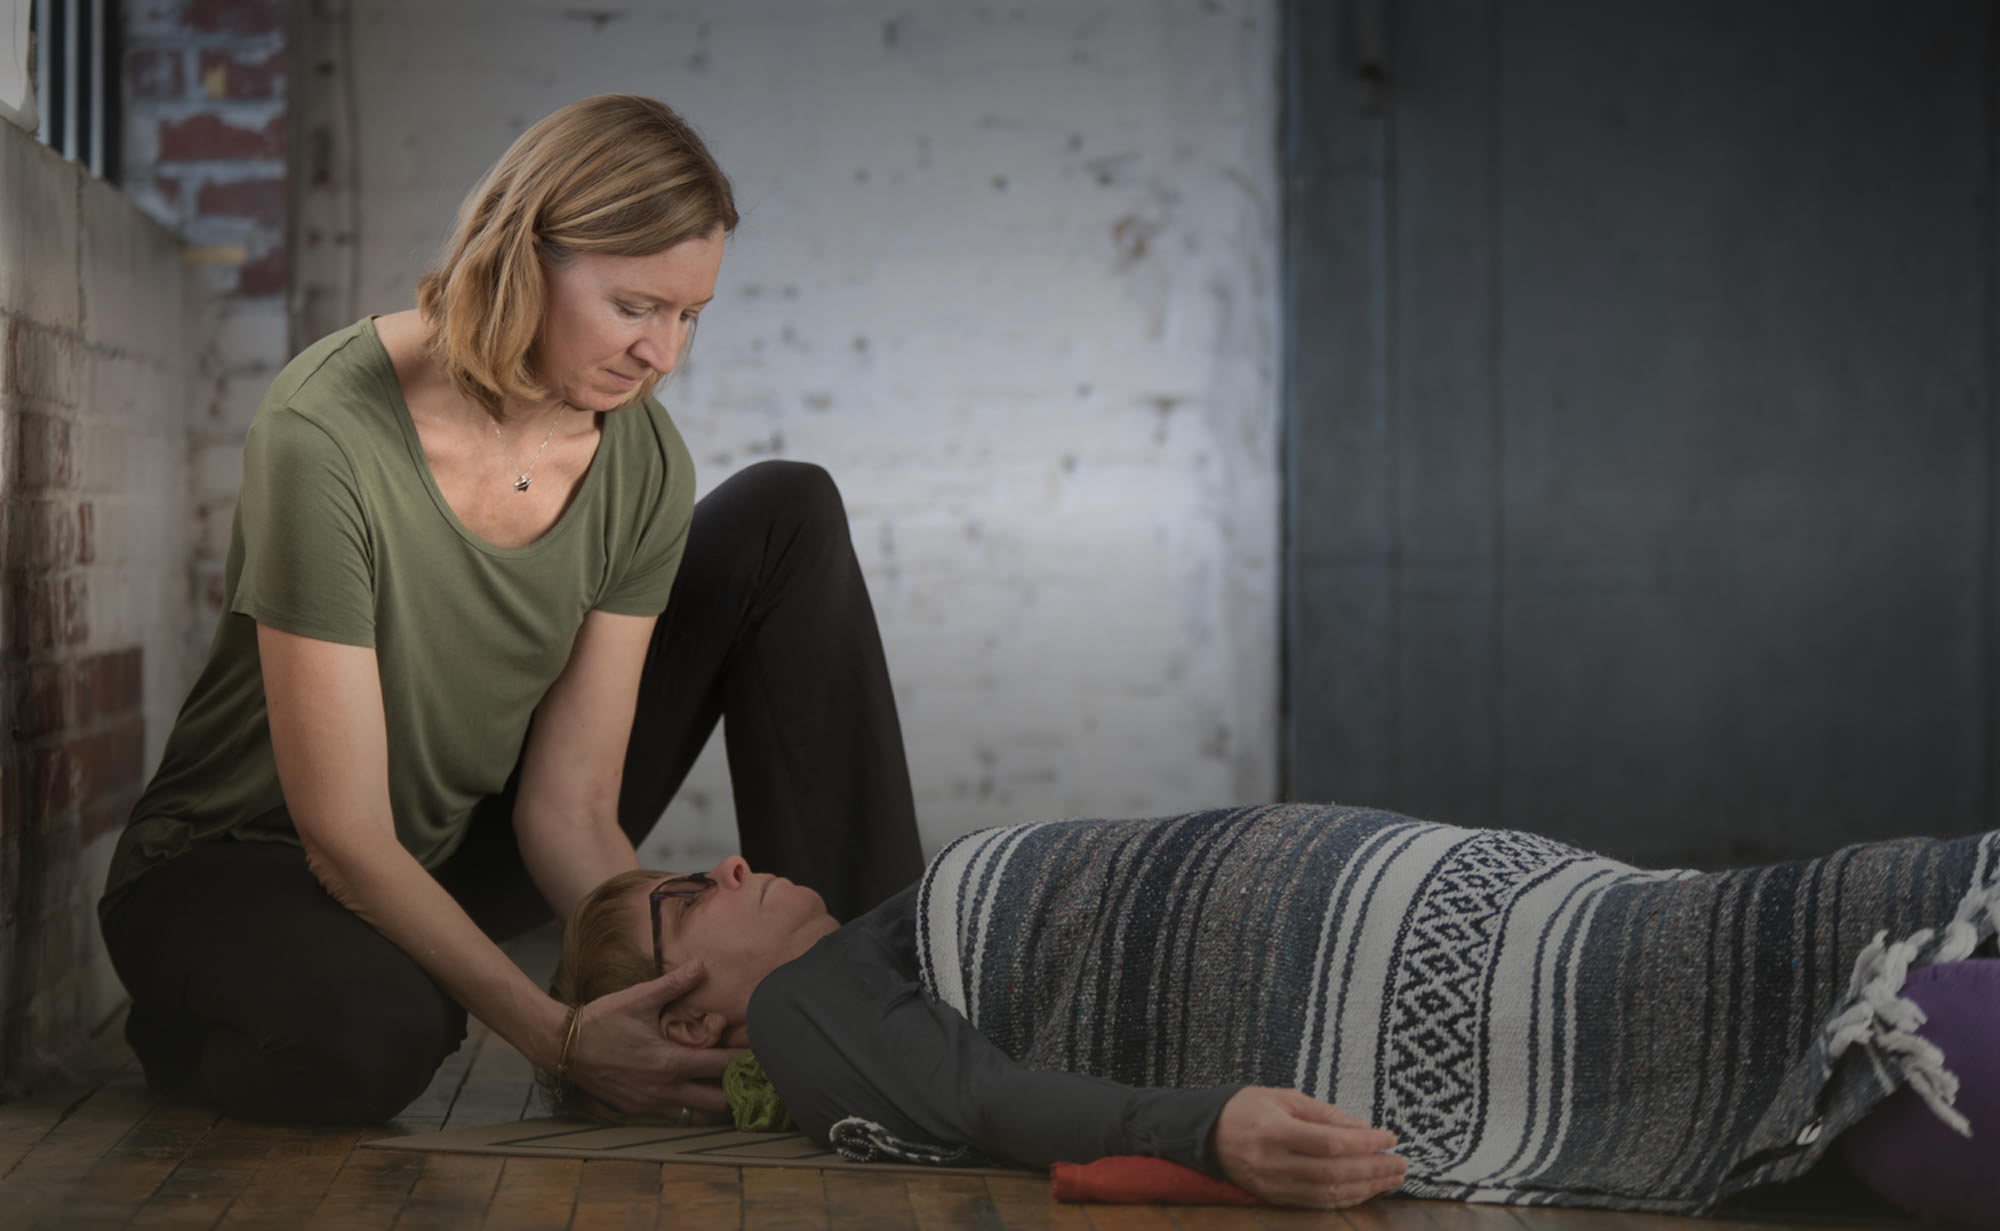
As I embark deeper into my study of pain and how best to address it with my clients, I thought it was time to bring out one of my favorite videos to explain pain. Get this statistic, which may even be a higher number by now – 100 million in the U.S. have chronic pain, making it the #1 disease, and costing billions of dollars to taxpayers and insurance carriers. And the NIH does not fund research into pain. One other interesting factola is that your average doctor (not one specializing in pain) only gets on average 9 hours of pain training during medical school or residency.
So back to the video. Professor Lorimer Moseley and David Moen, have put together this video to explain pain for the general public. I think it is genius and my hope is that you learn just a little more about your own pain or someone else’s.
Enjoy
Tame The Beast
Breath
2 to 1 Breath, Extended Exhalation or 1:2 Ratio Breathing
A basic breath that you can take anywhere when you need to. Lengthening the exhale kicks the parasympathetic nervous system up a notch, allows more space between thoughts, eliminates more waste and toxins from the body and allows the body to settle more. Much like the Equal Breath, we use a count to inhale but then we exhale for double that count. Find a comfortable seat or lay down on the floor, hands can be placed on the belly or wherever they are comfortable. Begin with the inhale to a count of 2, then exhale for a count of 4. Slightly constrict your back of throat as you exhale (similar to Ujjayi breath). As you practice and progress in deepening your breath, perhaps the counts will get longer.
Lengthening the exhalation and pausing after the exhalation invokes a feeling of profound quiet and stillness.
Poses
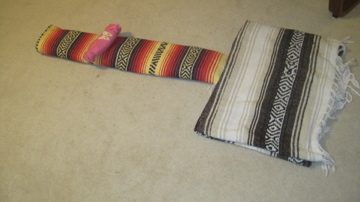
Therapeutic Spinal Strip
Props: 1 rolled up blanket, lengthwise, 1 blanket double-fold, neck pillow
Benefits: reinvigorates the spine bringing fresh blood and oxygen. With deep breath, can give the effect of a massage on the spine.
Roll a single-fold blanket keeping the roll more on the flatter side. This becomes your spinal strip. Lay this strip down on the floor and place a double-folded blanket at one end (Letter T). Sacrum is on the double-folded blanket and carefully lay the spine and head down on rolled up blanket. Use a neck pillow in cervical curve. Arms relax by the sides, palms turned up. A variation is to have knees together, feet wide apart. Stay for about 5 -8 minutes. A nice alternative to the Heart Bench.
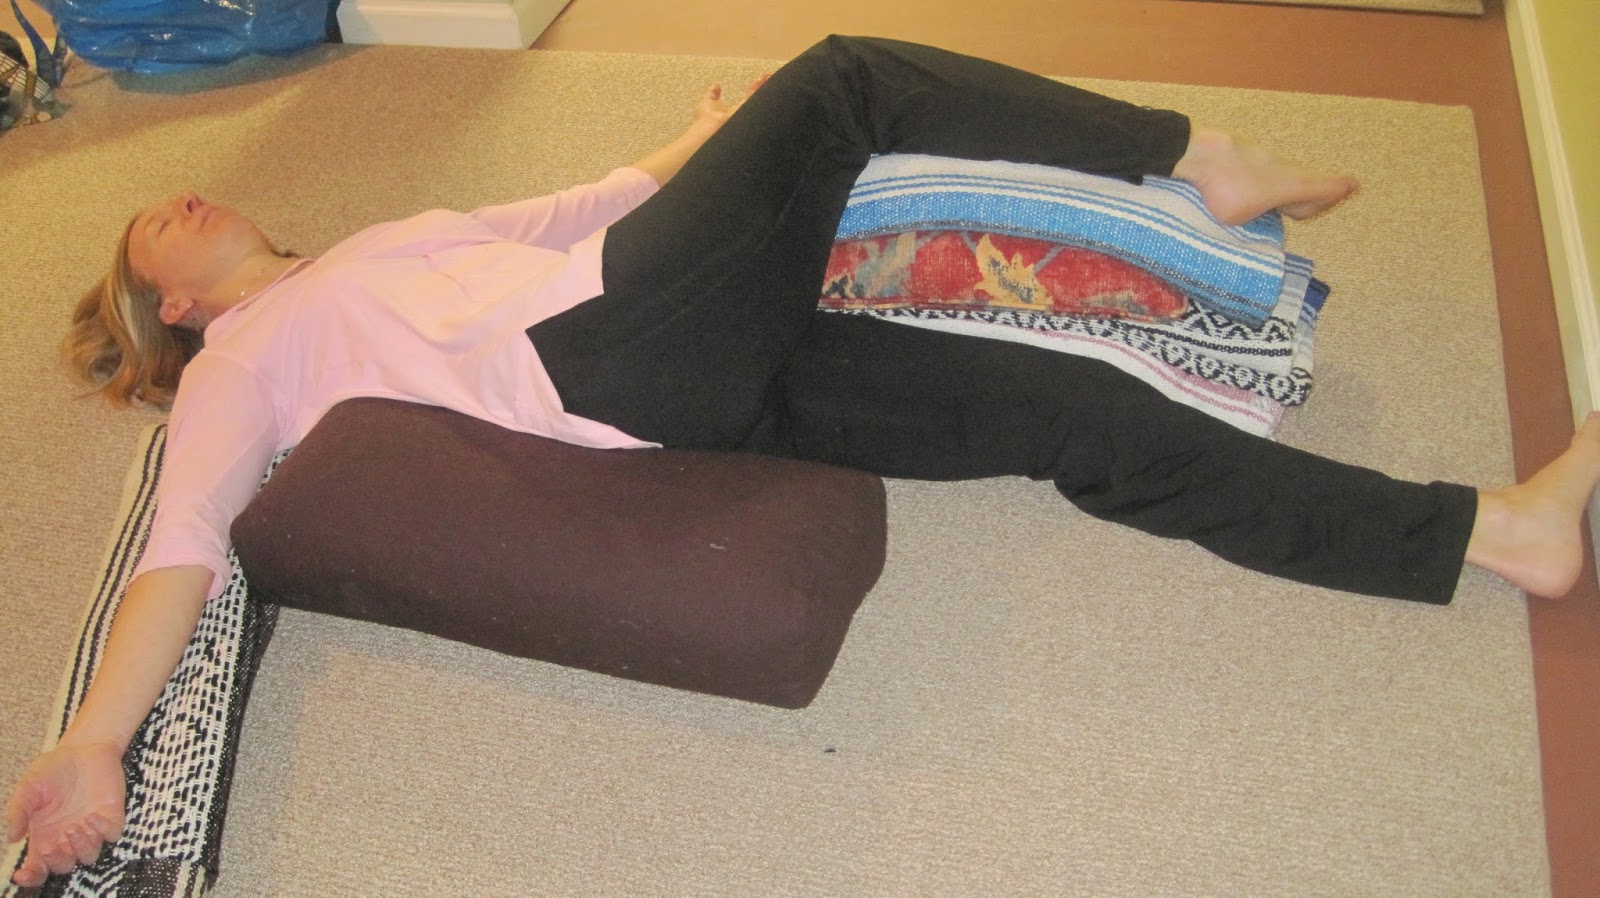
Reclined Bound Angle (Low version)
Benefits: opens the hips and groin facilitating blood and energy flow to the urinary tract and reproductive organs. Opens the chest and abdomen benefiting breathing problems.
Props: bolster, 4 blocks (or firm cushions, pillows or rolled-up blankets), 4 blankets and one extra blanket for warmth, strap and eye pillow. With low version, do not use the bolster but fold over a blanket so that the natural curves of the spine are supported on the blanket, especially the lumbar curve.
Place a block lengthwise under one end of a bolster to prop it up on an incline, add another block under bolster for stability. We used the wall in this week’s class placing the bolster at a higher elevation. Place a double-fold blanket on floor next to low end of bolster and a long rolled blanket on top next to bolster (for sacral support). Sit with your back to the short, low end of the bolster. Place two blocks where your knees will rest (can top with a soft blanket or use other props as necessary for propping knees) Bring your legs into Bound Angle Pose with the soles of your feet together. Wrap a blanket around your feet to create a feeling of containment. Lie back on the bolster. Place supports under your arms so that they are not dangling and there is no feeling of stretch in the chest. Stay in the pose for 10 minutes.
Supported Twist
Props: bolster, 2-4 blocks, 4 blankets, neck roll, eye pillow Extras: blanket for warmth
Benefits: Allows breath to come in to the rib cage and belly more freely. Detoxifying. Can reduce high blood pressure. Relieves fatigue and insomnia. Safe for a Prenatal twist.
This can be a very prop intensive pose but once you are in it, it is worth it. Begin with right side of body, place the bottom of your right foot against the wall with leg extended. Left leg is bent at a 90 deg. angle and propped up with two blocks and a bolster with maybe a blanket on top. at least two blankets, S-fold blankets, and/or pillows placed along spine for support, lengthwise. Extend your left arm out to the left side and lay it on a smaller stack of blankets either s-fold or triple-fold out to your side. Right arm extends out to the right. This means the left arm is at a higher elevation than right. Head can remain neutral to ceiling or turn to one side. Extra blankets can be placed in spaces that need more support. Neck roll for cervical spine and eye pillow.
*we are digging placing the arms in Goddess pose (not pictured) so try that one out as well. Place blanket support under arms.

Leave A Comment